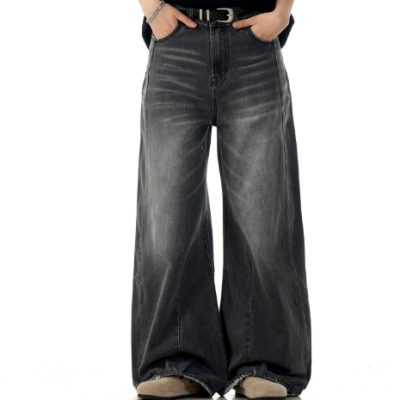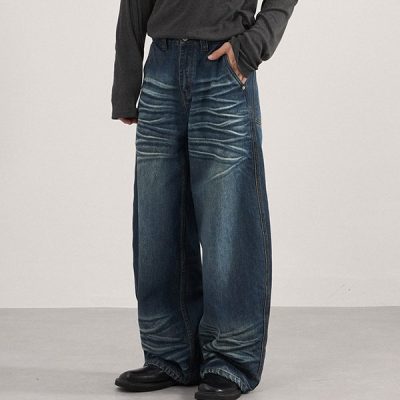
In streetwear, the silhouette has expanded, and so has the artwork. The “Wrap-Around” print—where a graphic starts on the front shin, crosses the side seam, and finishes on the calf—is one of the most requested features for baggy denim right now.
But if you ask any screen printer to do this, they will likely hesitate.
Why? Because a pair of jeans is not a flat canvas. It has thick side seams, rivets, and pockets. Running a squeegee over a bulky denim inseam usually results in ink buildup, skipped spots, or ruined screens.
To execute a large-scale leg wrap successfully, you have to stop thinking like a graphic designer and start thinking like a production manager. There are only two ways to do this: The Expensive Way (Panel) or The Risky Way (Finished Garment).
Here is the breakdown of how to handle both.
Method A: Panel Printing (The “Cut & Sew” Approach)
This is the industry standard for high-end brands (think Evisu, Supreme, Off-White). You print the fabric before it becomes a pair of pants.
The Workflow:
- Cutting: The factory cuts the denim fabric into the shape of the leg (front panel and back panel).
- Printing: These flat pieces of fabric are sent to the print shop. They lay flat on the table—no seams, no lumps.
- Sewing: The printed panels go back to the sewing line to be stitched together.
The Technical Advantage:
- Continuous Flow: You can print right to the edge. When the front and back panels are sewn together, the graphic looks like it “flows” seamlessly around the leg.
- Bleed Allowance: Your artwork file must include a “bleed” (usually 0.5 inches) extending past the sewing line. This ensures that when the operator sews the seam, they don’t accidentally cut off the edge of your logo.
The Downside:
- High MOQs: Most factories won’t do Cut & Sew for less than 100-300 units per style.
- Logistics: Moving fabric between a cutter, a printer, and a sewer increases lead time by 2-3 weeks.
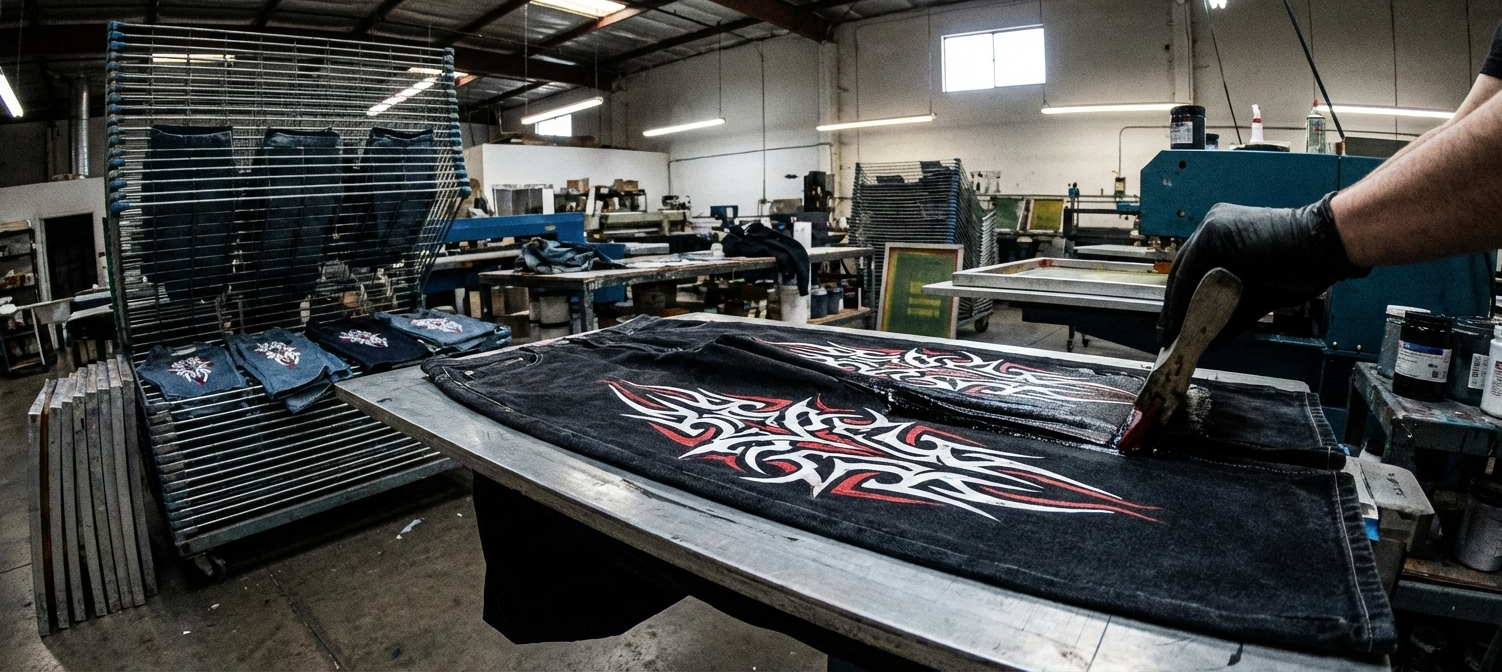
Method B: Finished Garment Printing (The “Over-the-Seam” Hack)
If you are printing on wholesale blanks (like Kirkland or Los Angeles Apparel) or have a lower budget, you are printing on finished jeans. This is where things get technical.
You cannot simply lay a pair of baggy jeans on a standard t-shirt pallet and expect a good result. The side seam is a speed bump.
The Problem: The “Gap”
When the squeegee hits the thick side seam, it lifts up. This creates a “valley” on either side of the seam where the ink doesn’t touch the fabric.
The Production Fixes:
- The “Seam Trench” Platen: specialized printers use custom pallets with a groove carved out down the middle. The thick seam of the jeans sits inside this groove, allowing the rest of the fabric to lie flush and flat.
- Soft Squeegees: Using a softer durometer squeegee (around 55/90/55 triple durometer) allows the blade to flex over the bump rather than jump over it.
- Distress Design: Smart designers intentionally add “grunge” or “distress” textures to the artwork right where the seam hits. If the print skips a little bit over the seam, it looks intentional rather than like a mistake.
Designing the File: Registration is Key
Whether you use Method A or B, the artwork setup is critical.
If you want a dragon’s head on the front leg and its tail on the back leg, do not assume they will line up perfectly. Denim is a living fabric; it twists and skews.
- Avoid “Hard Connections”: Do not design a single thin line that needs to connect perfectly from front to back. It will never align 100%.
- Use “Optical Illusions”: Design the graphic so the front part ends 1 inch before the seam, and the back part starts 1 inch after the seam. On a baggy jean, the fabric folds so much that the eye “connects” the image automatically, even though there is a gap. This is the safest way to print wrap-arounds on finished goods.
Summary: Which Should You Choose?
| Factor | Panel Printing (Cut & Sew) | Finished Garment Printing |
| Budget | High ($$$) | Moderate ($$) |
| MOQ | 100+ units usually required | Can do as few as 20 units |
| Quality | Retail/Luxury Standard | Streetwear/GRUNGE Standard |
| Seams | Print goes through the seam | Print goes over (or avoids) the seam |
If you are just starting, Finished Garment Printing with a “distressed” design style is your safest bet. If you are scaling up and want clean, sharp vector graphics that wrap perfectly, you must invest in Panel Printing.