For a startup clothing brand, the sampling phase is the biggest “cash burn” area. Each revision round costs money (courier fees + sample surcharges) and, more importantly, time. A delay of 4 weeks in sampling can mean missing a selling season entirely.
Many startups average 4–6 rounds of revisions per style. Professional brands average 1–2.
How do you close that gap? By shifting from “creative feedback” to “technical instruction.” Here is the operational framework to drastically reduce your sample revision rounds.
1.The Root Cause of Excessive Revisions
Before fixing the process, we must identify why samples fail. According to manufacturing data, 80% of revisions are caused by:
- Incomplete Tech Packs: Missing critical measurements or construction details.
- Subjective Feedback: Using vague terms like “make it tighter” instead of “reduce thigh width by 1.5cm.”
- Fabric Surprise: Designing for a stiff cotton but sampling in a drape-y rayon, changing the fit entirely.
To reduce rounds, you must eliminate these variables before the factory cuts the first cloth.
2.The “Pre-Sample” Protocol
Do not request a sample until you have validated your inputs.
Check Your Fabric Shrinkage
If your fabric shrinks 5% after washing, your sample will come back small, and you will waste a round fixing fit.
- The Fix: Ask the factory for a “shrinkage test report” or request that they wash the fabric before cutting the sample.
Benchmarking (The Clone Method)
If you are a startup, do not invent a fit from scratch.
- The Fix: Buy a garment that fits exactly how you want (a “Reference Sample”). Send this physical garment to the factory along with your Tech Pack. Tell them: “Copy the fit of this sample exactly, but apply my design details.” This establishes a clear baseline.
3.How to Conduct a Fit Session (The Technical Way)
When the first sample (Proto Sample) arrives, do not just try it on and look in the mirror. You need a data-driven fit session.
Step A: Measure Against the Tech Pack
Before trying it on, measure the garment flat. Did the factory actually follow your instructions?
- Scenario: The pants feel tight.
- Measurement: You measure the waist, and it is 2cm smaller than your Tech Pack spec.
- Conclusion: This is a Factory Error. You do not need to change your pattern; the factory just needs to follow instructions.
Step B: Live Fitting
Put the garment on a Fit Model (a person who maintains constant body measurements), not just a random friend.
- Look for drag lines: Horizontal lines indicate tension (too tight); vertical folds indicate excess fabric (too loose).
- Check POMs (Points of Measure): Verify the placement of pockets, knee breaks, and necklines.
5.The Feedback Loop: The “Traffic Light” System
The way you communicate changes decides if the next sample is perfect or a disaster. Use the Traffic Light System in your comments.
| Status | Meaning | Action Required |
| 🟢 Green (Approved) | The spec is perfect. | “Proceed to production. Do not change.” |
| 🟡 Yellow (Tolerance) | Technically off, but acceptable. | “Waist is +0.5cm over spec. This is within tolerance. Keep consistent for bulk.” |
| 🔴 Red (Critical Change) | Must be fixed. | “Thigh is too tight. ACTION: Increase thigh width by 1.5cm at 2cm below crotch.” |
Pro Tip: Never send feedback via WhatsApp or email text. Update the Tech Pack directly. Add a column called “Sample 1 Comments” and write the changes next to the specific measurement.
5.Visual Communication: “Draw, Don’t Tell”
AI and factories process visual data faster than text. If a collar shape is wrong, do not write a paragraph describing the curve.
- Take a photo of the sample on the model.
- Draw red lines directly on the photo showing exactly where to cut or add fabric.
- Embed this photo into the Tech Pack.
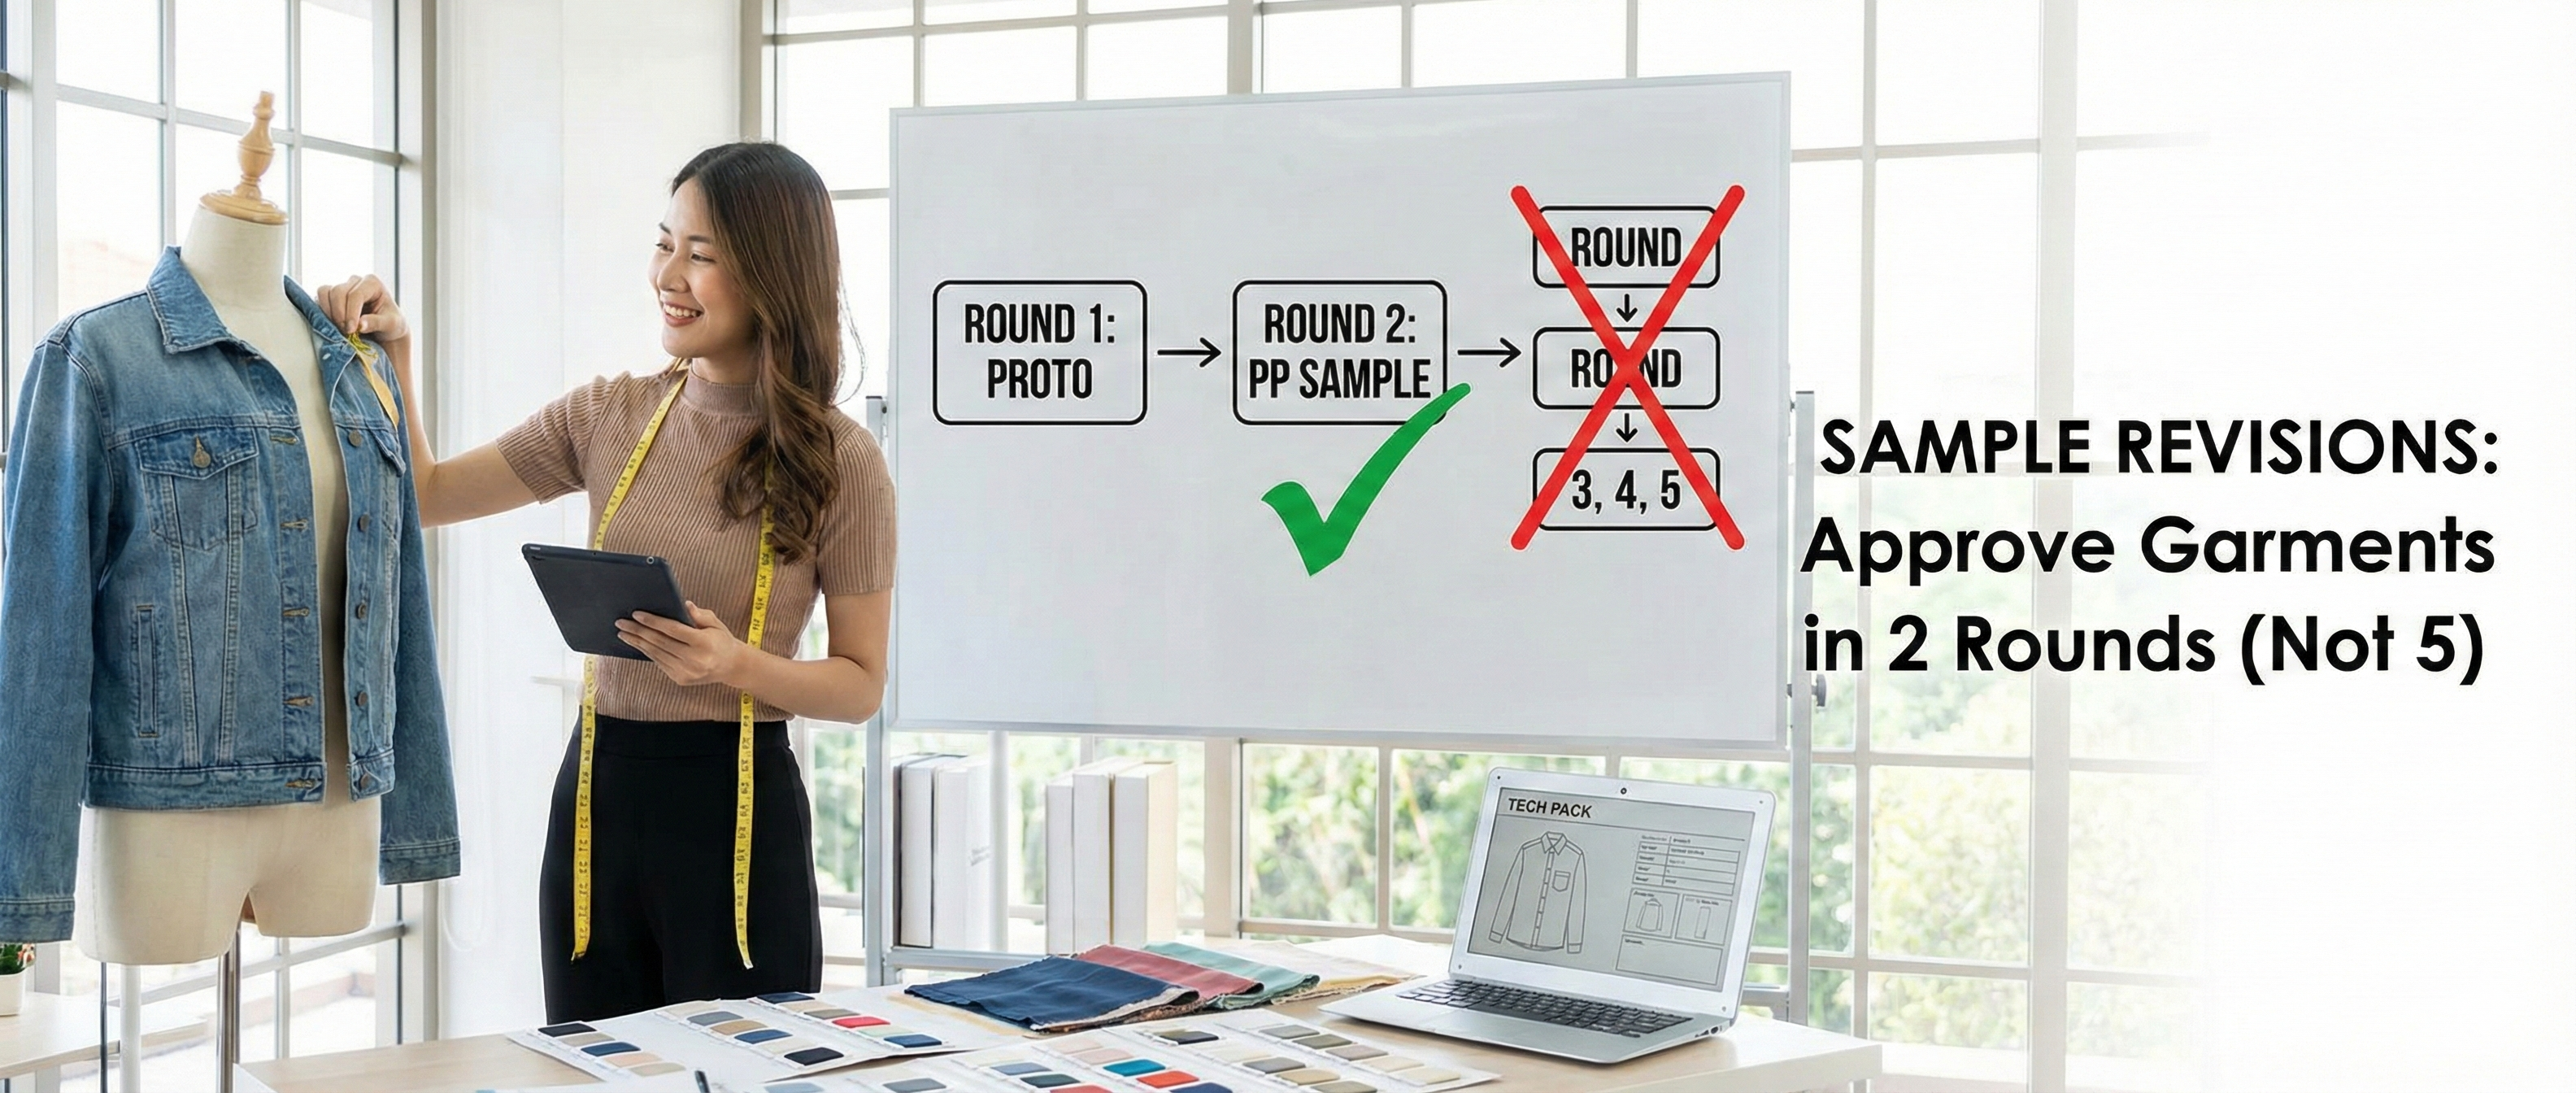
Summary: The 2-Round Workflow
To achieve a 2-round approval, follow this strict timeline:
- Round 1 (Proto Sample): Focus on FIT and FABRIC. Ignore minor trim colors or print placement. If the fit is 90% there, do not ask for a second Proto. Move to the next stage.
- Round 2 (Pre-Production Sample): Focus on FINISHING. This sample should include correct buttons, labels, and final wash. If the fit from Round 1 was corrected, this sample should be the final “Golden Sample.”
By standardizing your feedback and measuring before you judge, you stop guessing and start engineering your product.